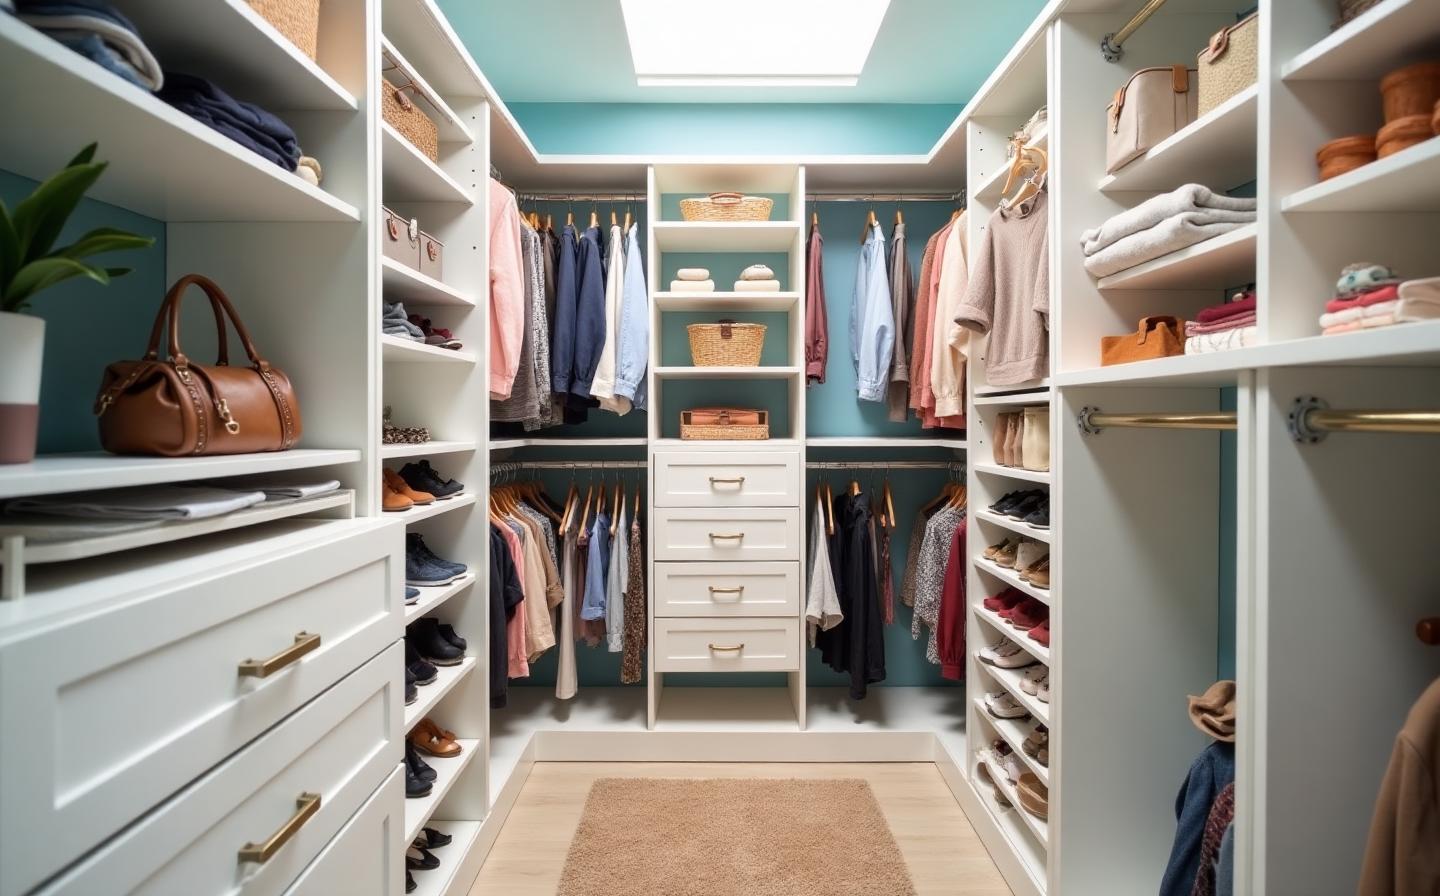
Our Process From 3D Design to Professional Installation
Most home improvement projects involve a lot of guessing.
You describe what you want. Someone sketches something. You hope what gets installed matches what you imagined.
We don't do that.
Every Able Closets project follows a specific process, one we've refined over 25 years and 3,000+ completed projects. The goal: no surprises on installation day.

You see exactly what you’re getting before we build a single component. Here’s how it works.
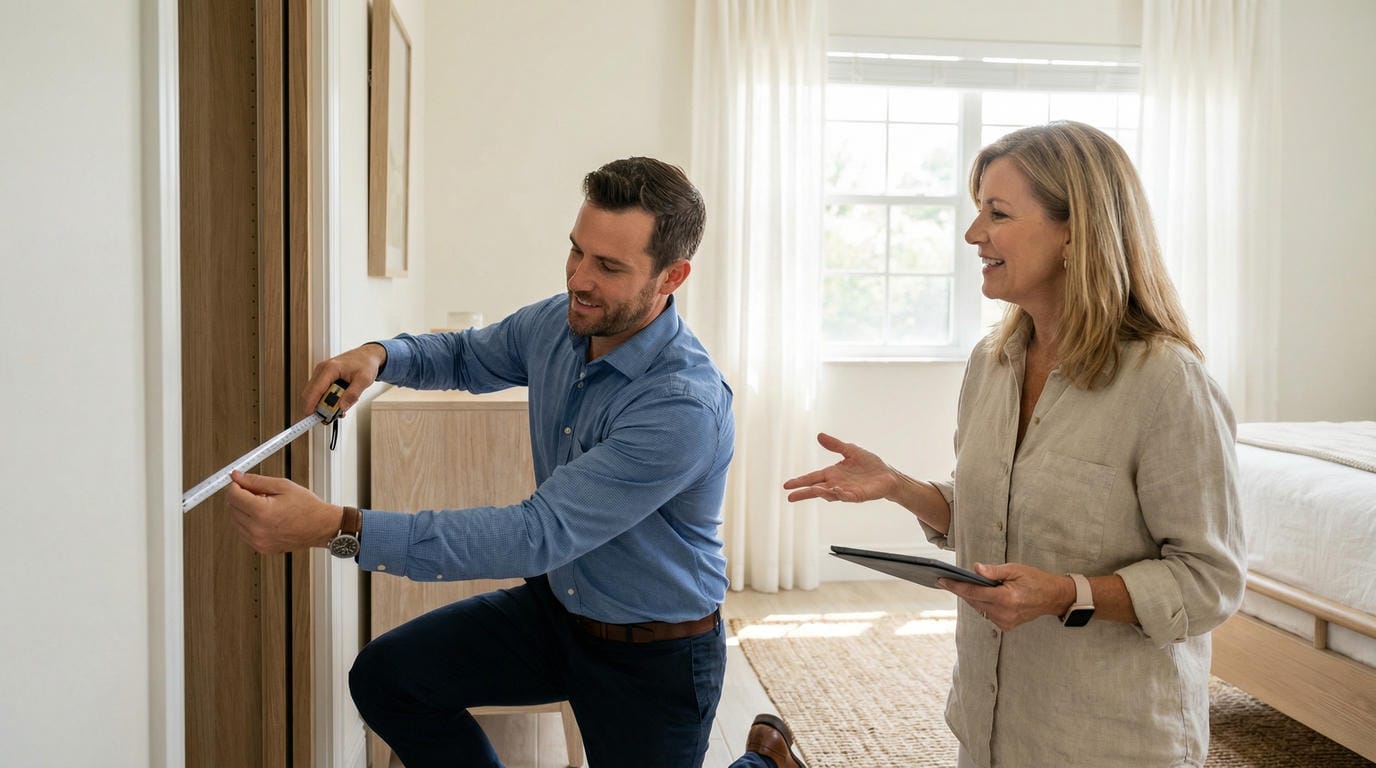
Step 1: Free In-Home Consultation
Our expert designer comes to your home.
We don't just measure the space. We look at it — the walls, the ceiling, the HVAC vents, the outlets, the angles that aren't square, the quirks that every real home has. We'll talk through what's not working. What you wish you had. How you actually use the space on a hectic Tuesday morning, not just on your best behavior day.
This conversation shapes the design. Not a sales pitch, not a presentation of pre-made packages — an actual discussion about your specific space and what would make it work better.
No charge. No commitment required.
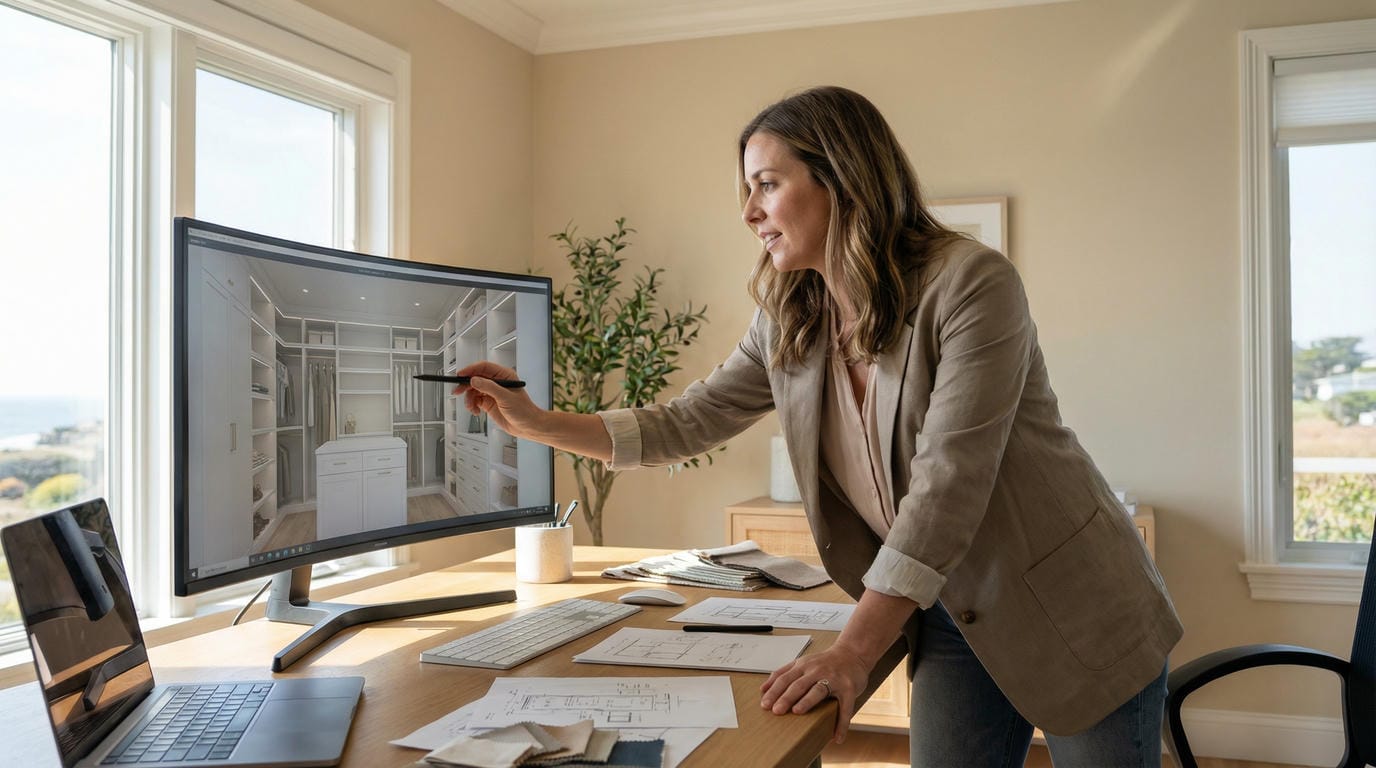
Step 2: Free 3D Design & Rendering
Our design consultant then creates a 3D rendering of your new space.
From your actual room dimensions and the finish you selected. The configuration that came out of the consultation.
You see exactly what it will look like before we manufacture anything. This is where the project gets real for most customers. They stop imagining and start seeing.
You see exactly what it will look like before we manufacture anything. This is where the project gets real for most customers. They stop imagining and start seeing.
“She is knowledgeable and easy to work with. No matter how many questions or changes I requested, she was always ready to work with me.”
— Louise
Step 3: Design Revisions
Want the drawer tower on the other side? Want a different finish? Want to add a section or change the hanging rod configuration?
We change it. Free. Before manufacturing starts.
Most projects take one or two revision rounds. Some take more that's fine. The design phase exists specifically to catch preferences and changes before anything gets cut. Changes are easy here. Nearly impossible after manufacturing.
We change it. Free. Before manufacturing starts.
Most projects take one or two revision rounds. Some take more that's fine. The design phase exists specifically to catch preferences and changes before anything gets cut. Changes are easy here. Nearly impossible after manufacturing.
“I had so many choices for finishes of the woodwork and hardware and Jim even designed my closet around my mother’s antique hutch!”
— Mara
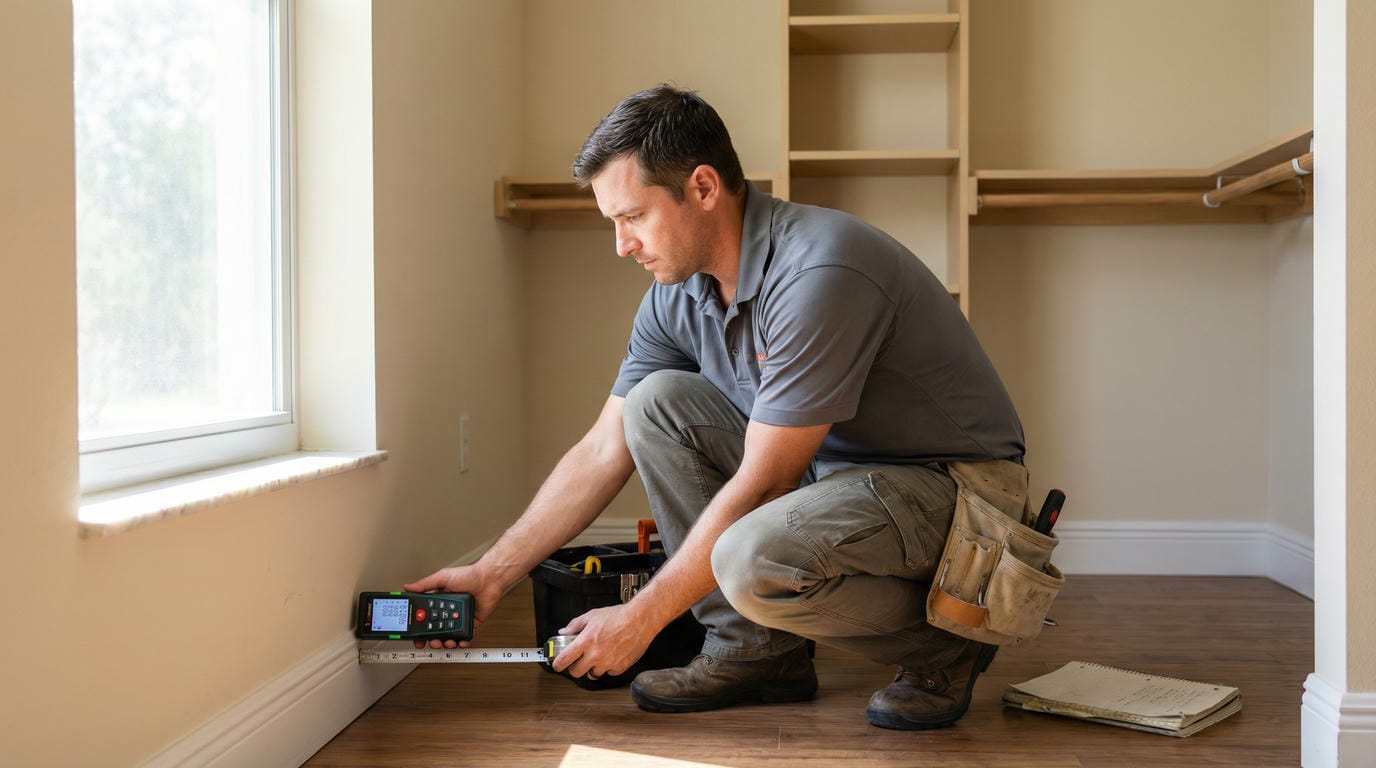
Step 4: The Remeasure
Here's the step most closet companies skip.
After you approve the design, someone returns to your home and measures the space again.
Here's the step most closet companies skip.
After you approve the design, someone returns to your home and measures the space again.
Why? Because rooms aren't perfectly square. Because a wall that measured 96 inches at the initial consultation sometimes has a 3/8-inch bulge behind drywall compound that matters when you're fitting cabinetry flush. Because catching that discrepancy now at remeasure means the manufactured components fit precisely on installation day.
James calls this Japanese work philosophy. Measure twice, cut once. It costs time. It prevents problems.
Step 5: Local Manufacturing
Your project is built locally.
Not shipped from a national or overseas warehouse. Not assembled from generic flat-pack kits sized for an imaginary average room. Manufactured to your exact dimensions: your ceiling height, your specific wall measurements, the non-standard angle in that back corner we caught at remeasure.
James Dean and the team have quality standards in place to ensure we can stand behind our lifetime warranty. The same quality standards that apply to design apply to what gets cut and assembled.
Timeline from design approval to manufactured components: typically 1–2 weeks.

Step 6: Professional Installation
Our installation team arrive with your components.
Our own employees — not subcontractors. People who know our components, our standards, and what "done right" looks like because they've installed hundreds of projects and been trained by James Dean personally.
They check level on every component. They shim where walls aren't flat. They adjust tolerances so every drawer pulls smooth, every door closes flush, every shelf sits exactly right.
Before they leave: a full walk-through with you. Open the drawers. Test the doors. If anything isn't right, it gets addressed before the truck is packed.
Step 7: Lifetime Support
We come back.
Doreen H. came back to us two years after installation and needed a few adjustments. We came out and made them. That's not warranty negotiation, that's just how we operate.
"Do whatever you have to do to make that customer happy, no matter what." That's James Dean's policy. It's what 25 years of word-of-mouth business looks like from the inside.
FAQs: Our Process
Do I need to be home for the whole installation?
You need to be available for the walk-through at the beginning and end. In between, you can leave — our team works independently and securely.
What do I need to do to prepare?
Empty the space completely before installation day. Everything else — tools, components, hardware — comes with the installation crew.
What if I change my mind after approving the design?
Changes during the design phase are free. Changes after manufacturing begins involve more complexity — we discuss it case by case.
Can you work around existing furniture or built-ins?
Yes — assessed during the consultation. We note constraints and design around them
What if something isn't right after installation?
Call us. We come back and address it.
Start With a Free Consultation
Most customers go from initial call to finished installation in 3–5 weeks. Faster than national franchises — because we manufacture in Jensen Beach, not a regional distribution center.